
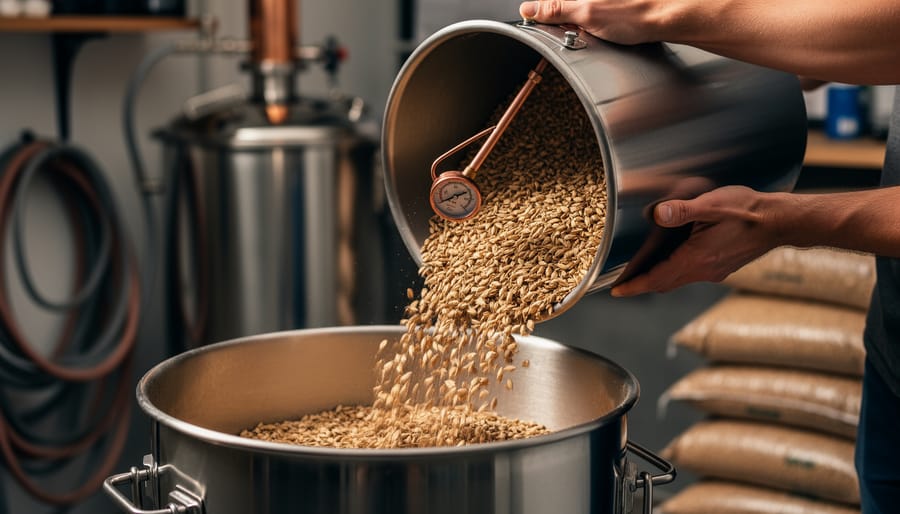
All-grain brewing is a method of making beer from scratch using only malted grains, water, hops, and yeast, without relying on pre-made malt extracts. Instead of pouring syrup from a can, you’re mashing crushed grains in hot water to extract fermentable sugars yourself, controlling every variable from the ground up.
For Canadian homebrewers who’ve been using extract kits, the shift to all-grain represents both a technical leap and a creative one. You gain complete control over your beer’s body, color, flavor, and alcohol content. Want to brew a hazy New England IPA with the exact mouthfeel you’ve been chasing, or recreate that farmhouse saison you had at a Quebec microbrewery? All-grain gives you the tools.
The process does require more equipment and a few extra hours on brew day. You’ll need a mash tun, a way to heat larger volumes of water, and patience to learn temperature rests and efficiency calculations. But the investment pays off in flexibility, cost savings per batch, and the simple satisfaction of building a beer from whole ingredients.
This guide walks you through what all-grain brewing actually involves, the equipment you’ll need to get started, and why so many brewers across Canada consider it the most rewarding step in their homebrewing journey. Whether you’re curious about the science behind the mash or ready to plan your first all-grain batch, you’ll find the practical knowledge to move forward with confidence.
What All-Grain Brewing Means for Homebrewers
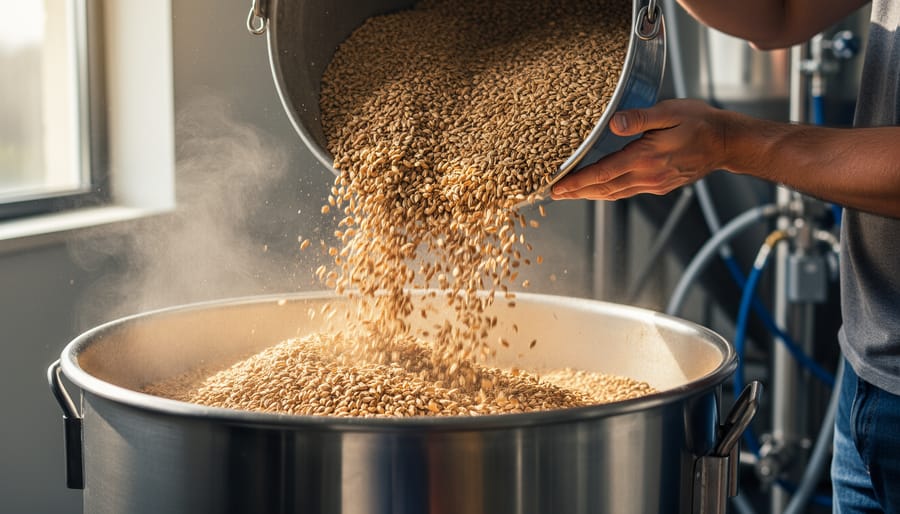
All-grain brewing is the foundational method that professional breweries use to make beer from scratch. Instead of using pre-made malt extract syrups or powders, you start with whole malted grains and extract the sugars yourself through a process called mashing. This gives you complete control over every aspect of your beer, from colour and body to flavour and alcohol content.
The approach differs fundamentally from extract brewing, where someone else has already done the sugar extraction for you. With extracts, you’re essentially reconstituting concentrated wort. Partial-mash brewing sits somewhere in between, using extracts as a base while incorporating some whole grains for added complexity. All-grain brewing takes you all the way back to the beginning, just like the breweries you visit.
- All-grain brewing
- The process of making beer entirely from malted grains, water, and hops without using pre-made extracts. This traditional method requires converting grain starches into fermentable sugars through mashing.
- Mashing
- The step where crushed grains are mixed with hot water to activate enzymes that convert starches into sugars. Temperature and time determine the character of the final beer.
- Extract brewing
- A simplified brewing method using concentrated malt syrup or powder, skipping the mashing process. It’s faster and requires less equipment than all-grain brewing.
- Grain bill
- The complete recipe of malts and grains used in a beer, including base malts and specialty grains. The grain bill determines flavour, colour, body, and alcohol potential.
- Conversion
- The enzymatic process during mashing that breaks down complex grain starches into simple, fermentable sugars. Successful conversion is essential for proper fermentation.
- Lautering
- The process of separating the sweet liquid (wort) from the spent grain after mashing. This step extracts the sugars you’ve worked to create.
At its core, all-grain brewing relies on three main ingredients: malted grains (usually barley, though wheat, rye, and oats show up too), water, and hops. The malted grains have been specially prepared so their starches can be converted into fermentable sugars. When you mix crushed grains with hot water during mashing, enzymes naturally present in the malt get activated and break down those starches. The result is a sweet liquid called wort, which yeast will later ferment into beer.
Many Canadian homebrewers hesitate to try all-grain brewing because they think it’s too complicated or requires a garage full of equipment. That’s not true anymore. Methods like brew-in-a-bag have made all-grain brewing accessible to anyone with a large pot and a stove. You don’t need three vessels or a dedicated brewing space. Reading through some first batch tips can help you avoid common pitfalls and build confidence before you start. The learning curve is real, but it’s manageable, and the Canadian homebrewing community is incredibly supportive of brewers making the transition.
How the All-Grain Brewing Process Works
The Mash: Where the Magic Happens
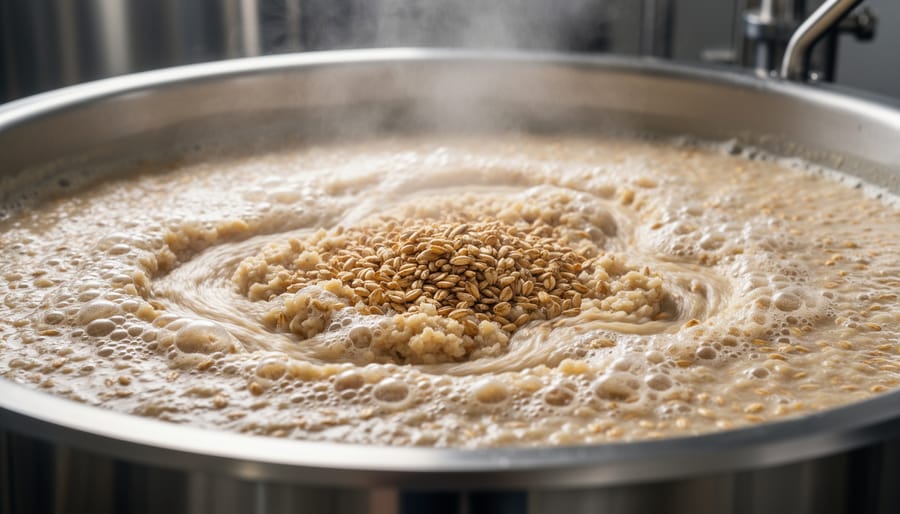
The mash transforms crushed grain into the sugary liquid that feeds yeast, and temperature control makes all the difference. When you mix ground malt with hot water, typically between 148°F and 158°F, enzymes spring to life and break down complex starches into fermentable sugars. Lower mash temperatures (148-152°F) produce a drier, more fermentable wort that gives you a crisp, light-bodied beer. Higher temperatures (154-158°F) create more unfermentable sugars, resulting in fuller body and sweetness that works beautifully in stouts and porters.
Canadian brewers working in basements or garages should insulate their mash tun well, since cold ambient temperatures can drop the mash temp faster than you’d expect. A sleeping bag or reflective wrap helps maintain steady heat during the 60-minute rest. Water chemistry matters more than many realize, Calgary’s soft water behaves differently than Toronto’s harder supply, affecting enzyme efficiency and flavour extraction. Adding gypsum or calcium chloride can optimize your mash pH and improve conversion.
This is what experts know separates good beer from great: nail the mash temperature for your target style, and you’ve set up everything that follows. Check your thermometer’s accuracy before brew day, stir gently to eliminate hot spots, and give those enzymes time to work.
Lautering and Sparging Techniques
After the mash converts grain starches into sugars, you need to separate the sweet liquid wort from the spent grain husks. This separation happens in two phases: lautering (draining the wort from the grain bed) and sparging (rinsing the remaining sugars from the grains with hot water).
The grain bed itself acts as a natural filter. As you slowly drain wort from the bottom of your mash tun, the grain husks create channels that clarify the liquid. The first runnings will look cloudy, so recirculate them back over the grain bed until the wort runs clear, usually after a few litres.
For sparging, Canadian homebrewers typically choose between two methods. Batch sparging involves draining all the first wort, then adding your full sparge water volume at once, stirring gently, letting it settle for ten minutes, and draining again. It takes less time and equipment while still achieving 70-75% efficiency. Continuous (fly) sparging means slowly sprinkling hot water over the grain bed as you drain, maintaining a shallow water layer above the grains. This maximizes efficiency (75-80%) but requires more precise temperature control and a longer brew day.
Keep your sparge water between 168-170°F to halt enzyme activity while still dissolving sugars. Many of the same brewday questions beginners ask relate to this stage, particularly around flow rates. Drain slowly enough that you don’t compact the grain bed or extract tannins from the husks, usually completing the entire lautering process in 60-90 minutes for a typical five-gallon batch.
Essential Components and Equipment Needed
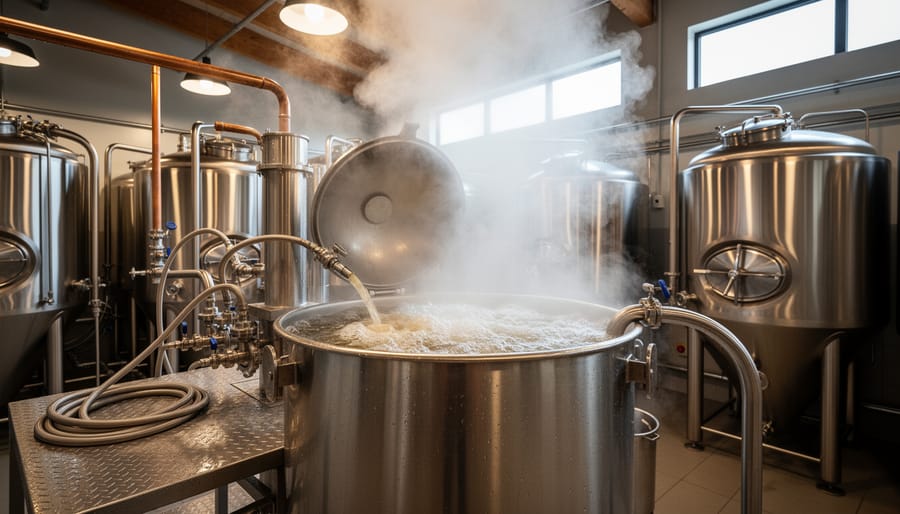
Making the switch to all-grain brewing means investing in a few key pieces of equipment, but the good news is you have options at every budget level. You can start simple and upgrade over time, or dive into a complete system right away depending on your space and commitment level.
The heart of any all-grain setup is the mash tun, where you’ll combine crushed grains with hot water to convert starches into fermentable sugars. Many Canadian homebrewers start with a converted 10-gallon cooler fitted with a false bottom or manifold, which costs around $50-80 and works remarkably well. Dedicated stainless steel mash tuns run $150-300 but offer better temperature stability and durability. For apartment brewers or those wanting to simplify, brew-in-a-bag (BIAB) systems let you mash directly in your brew kettle using a fine mesh bag, eliminating the need for a separate vessel entirely.
Your brew kettle needs to hold your full batch volume plus headspace for the boil. A 10-gallon stainless steel pot works for standard 5-gallon batches and costs $80-150. Look for one with volume markings and a ball valve near the bottom to make transfers easier. Some brewers use a separate hot liquor tank to heat sparge water, but you can manage with a large stockpot on your stove when starting out.
Here’s what you actually need to brew your first all-grain batch versus what can wait:
- Must-have: Mash tun or large kettle with grain bag, 10-gallon brew kettle, long spoon or paddle, thermometer, hydrometer
- Must-have: Fermenter with airlock, auto-siphon, bottles or kegs
- Nice-to-have: Wort chiller (immersion or counterflow), refractometer, pH meter, pump for transferring liquid
- Nice-to-have: Temperature controller, dedicated hot liquor tank, grain mill for crushing your own malt
Wort chillers speed up cooling from boiling to pitching temperature, cutting what might take hours down to 20-30 minutes. An immersion chiller runs $60-100 and connects to your kitchen tap. Counterflow or plate chillers are faster but cost $150-250 and take more effort to clean.
All-in-one electric systems like the Grainfather or Brewzilla appeal to space-constrained Canadian brewers. These $500-900 units combine mash tun, kettle, and heating element in one compact package with digital temperature control. They’re apartment-friendly and produce consistent results, though you sacrifice some of the hands-on charm and pay a premium for the convenience.
Fermentation vessels stay the same whether you brew extract or all-grain. Glass carboys, plastic buckets, or stainless fermenters all work fine. Most Canadian homebrewers already own these from extract brewing days.
The beauty of all-grain equipment is scalability. Start with a basic cooler mash tun setup for under $300 total, then add pieces as your process evolves and your budget allows.
The Benefits of Brewing All-Grain Beer

Flavour and Quality Advantages
All-grain brewing delivers a depth of flavour that extract brewing simply can’t match. When you start with whole grains, you’re working with the freshest possible base for your beer. Extracts, by contrast, have been processed, concentrated, and stored, sometimes for months, which dulls their complexity and can introduce stale or metallic notes.
The real advantage lies in malt complexity. With all-grain methods, you can showcase the full spectrum of a grain’s character: the biscuity sweetness of Canadian two-row, the toffee notes of Munich malt, or the roasted coffee depth of chocolate malt. You’re not limited to predetermined extract blends. Want a 5% addition of crystal 40 for subtle caramel? A touch of melanoidin for malt-forward richness? You control every percentage.
Specialty grains shine brightest in all-grain brewing because you can use them at any proportion. An oatmeal stout benefits from 10-15% flaked oats for body and mouthfeel. A Belgian tripel needs pilsner malt’s delicate honey character as the backbone. These nuances get muted or lost entirely when you’re constrained by extract formulations.
Canadian craft beer fans brewing popular styles, West Coast IPAs, robust porters, or sessionable lagers, notice the difference immediately. The beer tastes cleaner, the malt profile more defined, and the finish crisper. Freshness matters, and all-grain brewing puts that freshness directly into your fermenter.
Cost Efficiency Over Time
The upfront cost of all-grain equipment can feel steep, expect to spend $200 to $400 for a basic setup in Canada, compared to $50 for extract starter kits. But the math shifts dramatically once you start brewing regularly. A 20-litre all-grain batch costs roughly $30 to $40 in ingredients (grain, hops, yeast), while the same batch using extract runs $60 to $80 at 2026 prices. That’s a $30 to $40 saving per brew day.
Your equipment investment typically pays for itself after 10 to 12 batches, which most active homebrewers complete within their first year. After that point, you’re saving money on every batch while producing beer that rivals or exceeds commercial quality. The savings compound if you brew frequently or split bulk grain orders with fellow brewers.
Smart sourcing stretches your dollar further. Join a local homebrew club to access group buys on base malts, 25 kg sacks of Canadian two-row often drop to $45 when ordered collectively, compared to $3 to $4 per kilogram at retail. Ontario Grain stocks and Gambrinus Malting offer quality Canadian options. Store whole grain in sealed buckets in a cool, dry spot, and it stays fresh for six months or longer, letting you brew on your schedule without premium per-batch pricing.
Creative Freedom and Recipe Design
Once you shift to all-grain, the recipe world cracks wide open. You’re no longer constrained by the handful of malt extracts available at your local shop. Instead, you can build a grain bill from dozens of base malts, specialty grains, roasted barley, adjuncts, whatever your imagination (or your favourite brewery’s recipe) demands.
Want a crisp pilsner with just a hint of honey sweetness? Dial in a low mash temperature around 148°F to maximize fermentability. After a chewy, full-bodied stout? Rest at 156°F to preserve more unfermentable sugars. Tweaking your mash schedule lets you sculpt body, mouthfeel, and attenuation with precision no extract brewer can match.
Water chemistry becomes your secret weapon. Adjusting mineral content, boosting sulfates for hop-forward West Coast IPAs or adding calcium chloride for smooth, malt-forward ales, elevates good beer to great. Canadian homebrewers with soft water can replicate the crisp profiles of Czech pilsners or the mineral bite of Burton-on-Trent pale ales by adding the right salts.
Traditional styles become starting points rather than limits. Blend Belgian pale malt with rye for a spicy saison. Substitute oats and wheat for silky New England IPAs. Experiment with ancient grains, smoked malts, or local honey in the mash. All-grain brewing hands you the keys.
Common Uses and Applications in Homebrewing
All-grain brewing fits homebrewers at every skill level, from first-timers dipping their toes into the process to veteran recipe designers chasing the perfect pint. In Canada, where craft beer appreciation runs deep and community support is strong, the method has become accessible to anyone willing to invest a brew day.
Beginners often start with brew-in-a-bag (BIAB), which strips the process down to its essentials. You need just one large kettle, a mesh bag to hold the grains, and a heat source. BIAB eliminates the need for separate mash tuns and complex lautering equipment, making it apartment-friendly and budget-conscious. Many Canadian homebrewers knock out their first all-grain batch this way on a kitchen stove, proving you don’t need a garage full of gear to get started.
Intermediate brewers typically graduate to multi-vessel setups, a mash tun, hot liquor tank, and brew kettle working in concert. This configuration offers better temperature control, higher efficiency, and the ability to brew larger batches. It’s the sweet spot for homebrewers who’ve caught the bug and want to dial in their process without going fully automated.
Advanced all-grain brewers focus on recipe refinement: tweaking mash schedules, adjusting water chemistry, experimenting with decoction or step mashes, and pushing the boundaries of what’s possible at home. They’re the ones developing house styles and sharing expertise at local homebrew clubs.
Certain beer styles truly shine with all-grain methods:
- IPAs benefit from custom hop and malt balance you can’t achieve with extracts
- Belgian ales require precise fermentability control for their signature dry finish
- Porters and stouts gain complexity from layering multiple specialty malts
- Lagers demand the clean malt profile only fresh grain can deliver
- Sour beers need the long-term fermentability all-grain brewing provides
Once you’ve brewed a crisp Canadian lager or a west-coast IPA from scratch, you’ll want to serve it properly to showcase all that effort. All-grain brewing works for any style, but these categories reward the extra control.
Frequently Asked Questions
Is all-grain brewing much harder than extract brewing?
Not harder, just more hands-on. You’ll manage temperature and timing instead of dumping in extract, but the actual steps are straightforward. Most Canadian homebrewers find their first all-grain batch less intimidating than expected.
How long does an all-grain brew day take?
Plan for 5-6 hours for your first batch, including setup and cleanup. Once you’ve got your system dialed in, experienced brewers typically finish in 4-5 hours. Brew-in-a-bag methods can shave off 30-60 minutes.
Can I brew all-grain in a small apartment?
Absolutely. Brew-in-a-bag requires just one large pot and works perfectly on a stove or with a portable induction burner. Many Toronto and Vancouver apartment brewers produce exceptional beer in compact kitchens with proper ventilation.
Do I need expensive equipment to start?
No. A basic brew-in-a-bag setup runs $150-250 Canadian if you source a used cooler or large pot. You can upgrade gradually as you refine your process and decide what features matter most to you.
How do I know if my mash was successful?
Taste your wort after lautering, it should be noticeably sweet. A refractometer or hydrometer reading confirms you’ve hit your target gravity, but that sweetness tells you the enzymes did their job converting starches to sugars.
What’s the learning curve like for all-grain brewing?
Most brewers nail the basics within 2-3 batches. You’ll spend the next dozen batches fine-tuning efficiency and dialing in your system, but you’ll make drinkable beer from batch one. The learning curve becomes part of the fun, each brew day teaches you something new about the craft.
The questions above address the most common hesitations Canadian homebrewers express when considering the switch. What matters most is taking that first step. Your initial all-grain batch won’t be perfect, and that’s completely fine. You’ll improve your efficiency, refine your temperature control, and develop a feel for your equipment with each successive brew day.
Connect with your local homebrew club or online Canadian brewing communities before your first all-grain batch. Fellow brewers love sharing tips specific to your setup and regional water chemistry. They’ll help troubleshoot any hiccups and celebrate your successes. The all-grain brewing community in Canada is remarkably welcoming, whether you’re in Halifax or Victoria, and that support network makes the transition smoother and more enjoyable than going it alone.
Brewing all grain beer is more than a technique, it’s a deeper way to engage with homebrewing that transforms your relationship with the craft. Yes, it demands more equipment than extract brewing, and your brew days will stretch a few hours longer. But the payoff is substantial. You gain complete creative control over every aspect of your beer, from grain selection to mash temperature. You unlock richer, more complex flavours that simply aren’t achievable with extracts. After a dozen batches, the cost savings become undeniable, especially as grain prices remain far more stable than extract costs in 2026.
For Canadian homebrewers ready to take that next step, the transition doesn’t have to be daunting. Start with a straightforward brew-in-a-bag setup, minimal investment, maximum learning. Your first all-grain batch will teach you more about brewing science than a year of extract brewing. Tap into your local homebrew clubs and online communities; Canadian brewers are remarkably generous with advice, equipment tips, and recipe troubleshooting.
The all-grain method connects you to centuries of brewing tradition while opening endless possibilities for innovation. It’s how professional brewers work, and it’s how passionate homebrewers push their skills forward. Explore recipes, ask questions, share your results, and join the conversation with fellow Canadian brewers who’ve made this rewarding leap.


