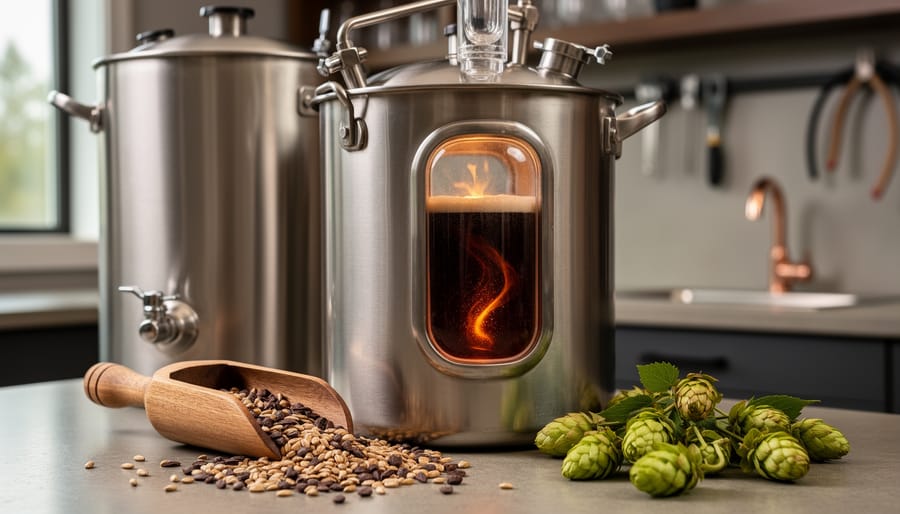
Brewing an American porter successfully hinges on balancing rich, roasted malt character with the hop-forward attitude that defines American craft brewing. Unlike English porters, which lean heavily on earthy, subtle profiles, American porters bring bright citrus and pine hop aromatics alongside chocolate and coffee malt flavors. The secret lies in choosing the right base malts, layering moderate roasted grains without bitterness, and showcasing American hop varieties through late additions and dry hopping.
For Canadian homebrewers in 2026, this style offers a fantastic canvas to work with locally available ingredients while experimenting with the creative freedom American craft brewing encourages. You’ll find that American porter sits comfortably in the middle ground between brown ales and stouts, making it approachable for newer brewers yet rewarding for veterans looking to refine their technique. The style typically lands between 4.8 and 6.5 percent ABV, with a firm but not aggressive bitterness ranging from 25 to 50 IBUs.
What makes this beer particularly appealing right now is how well it showcases both traditional brewing fundamentals and modern hopping techniques. You’re building a solid malt backbone while learning to layer hop character without overpowering the roast. The fermentation is straightforward, the ingredients are accessible across Canada, and the results are consistently crowd-pleasing, whether you’re sharing pints at a homebrew club meeting or entering competitions.
The seven techniques ahead will walk you through grain bill construction, hop selection, fermentation temperature management, and finishing touches that separate good American porters from truly exceptional ones.
How We Selected These Brewing Tips
We curated these seven tips through a practical lens that matters to Canadian homebrewers. Each technique was chosen based on three essential criteria: proven impact on final beer quality, accessibility of ingredients and methods across Canada’s diverse regions, and effectiveness for brewers at every skill level. We drew heavily on brewer insights from our community, including feedback from brewers tackling American porter for the first time.
The selection process prioritized techniques that address the most common American porter challenges: balancing roast character without harshness, achieving proper body, and working within the constraints of Canadian ingredient availability and climate conditions. Rather than chasing perfection, these tips focus on consistent, repeatable results that build confidence while delivering exceptional beer.
1. Nail Your Base Malt Foundation with North American Varieties
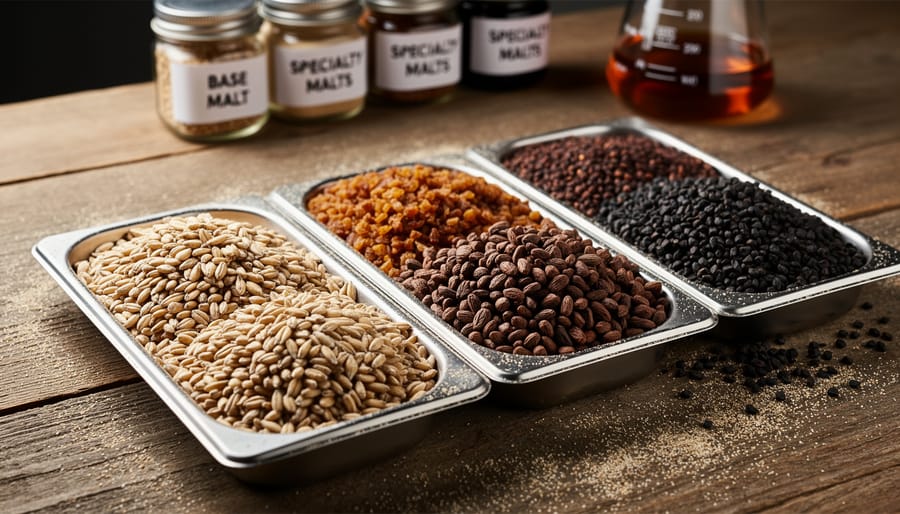
The foundation of any great American porter starts with your base malt selection, and this is where many homebrewers either set themselves up for success or compromise the style before they even fire up the mash tun. North American two-row or pale malt should comprise 70-80% of your grain bill, delivering a clean, neutral canvas that lets your specialty malts and hops perform without interference. This isn’t just about geography, it’s about flavor profile and fermentability.
English Maris Otter and similar UK base malts bring a biscuity, toasty character that defines English porter, but American porter demands something different. North American base malts ferment cleaner and drier, creating that characteristic backdrop where chocolate and roasted notes can shine without competing against built-in malt sweetness. The difference is subtle but crucial: you’re aiming for “roasty and balanced” rather than “bready and sweet.”
For Canadian homebrewers, several excellent options are readily available:
- Canada Malting 2-Row: widely distributed across the country, offers consistent quality and a slightly softer character than US malts
- Rahr 2-Row: clean, neutral profile that many commercial breweries rely on, excellent fermentability
- Great Western 2-Row: slightly more assertive than Rahr, still clean enough for American porter
- Gambrinus Pale Malt: if you want a touch more malt presence without crossing into English territory
Freshness matters more than most beginners realize. Crush a few kernels between your teeth, they should taste sweet and slightly grainy, never stale or cardboard-like. Check packaging dates when possible and store your malt in airtight containers away from moisture. A properly selected base malt won’t make your porter exceptional on its own, but a poor choice will undermine everything else you do right. For additional guidance on managing your mash process, proper temperature control works hand-in-hand with quality malt selection to extract the best possible wort for fermentation.
2. Layer Your Chocolate and Roasted Malts for Complexity
The secret to a well-rounded American porter lies in your specialty malt blend. Rather than dumping 10% chocolate malt into your grain bill and calling it done, think of your dark grains like a painter mixing colors. Using three or four roasted malts in smaller proportions creates layered complexity that a single dark malt can’t achieve on its own.
Start with chocolate malt as your foundation, typically around 5-7% of your total grain bill. This provides cocoa and coffee notes without aggressive bitterness. Then add 2-3% black patent or roasted barley for depth and dark color, and consider 1-2% of a medium crystal malt (60-80L) to bridge the gap between your base and roasted grains. Some brewers like including a touch of pale chocolate or brown malt for an extra dimension of toasty character.
This layered approach gives you control over your flavor profile. A porter leaning toward chocolate will use more chocolate malt and less roasted barley. Want more coffee? Increase the roasted barley and dial back the chocolate slightly. The key is keeping each specialty malt below 8% individually, which prevents any single roasted flavor from dominating and creating an unpleasant sharpness.
Canadian homebrewers have excellent access to quality specialty malts from Gambrinus, Briess, and Fawcett through local shops and online retailers. Buy small amounts initially and taste them raw to understand what each brings to your beer. That sensory knowledge will guide your blending decisions better than any recipe alone.
3. Choose American Hops with Restraint and Purpose
American porter isn’t an IPA. That sounds obvious, but many homebrewers trip over this when selecting hops. The key is restraint, you want hops that support the malt backbone without stealing the spotlight.
Start with classic American varieties like Cascade, Willamette, or Centennial. These bring subtle citrus, floral, or piney notes that enhance rather than dominate. Think of them as seasoning, not the main course. For bittering, aim for 25-40 IBUs, enough to cut through the roasted malt sweetness without turning your porter into a bitter bomb. Add your bittering charge early in the boil, typically at 60 minutes, using a clean bittering hop like Magnum or Warrior if you prefer to save your Cascade for later.
Late hop additions matter, but use them sparingly. A small addition at 15 minutes or flameout adds a whisper of aroma that complements chocolate and coffee notes without screaming “hoppy.” This is where American porter diverges sharply from hazy IPAs, which pile on late hops. Here, less is genuinely more.
Finding fresh American hops in Canada has become easier as our craft brewing scene matures. Check with local homebrew shops or Canadian hop suppliers who stock current-year varieties. Freshness matters, stale hops contribute grassy, cheesy flavors that clash with roasted malts.
If you’re tempted to dry hop your porter, pause. Some brewers do it successfully, but it risks muddling the clean roast character you’ve worked to build. Save aggressive dry hopping techniques for your next pale ale. For American porter, let your malt work shine with just enough hop support to keep things balanced and drinkable.
4. Ferment Cool with a Clean American Ale Yeast
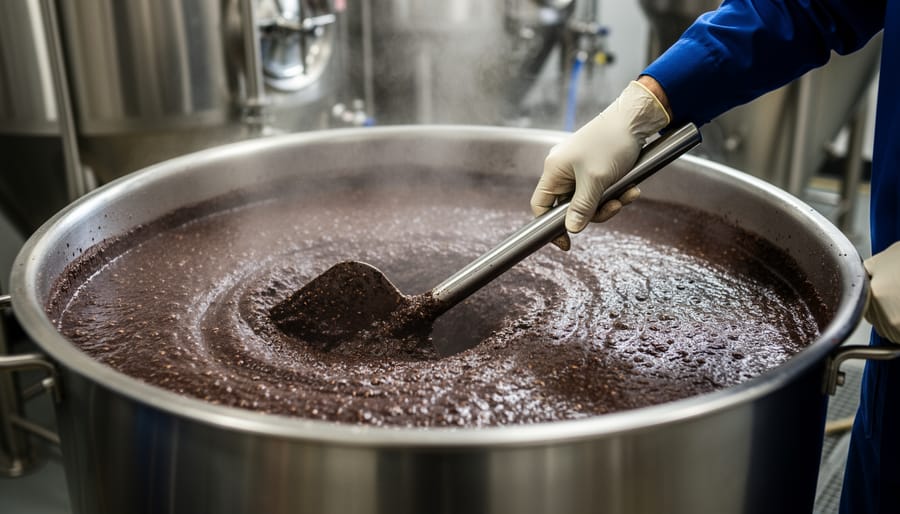
The yeast you pitch sets the foundation for how cleanly your malt and hop flavors shine through. American porter demands a neutral, attenuative yeast strain that gets out of the way rather than adding fruity esters or spicy phenols. While English ale yeasts produce the pleasant character you’d want in a London porter, they’ll muddy the crisp malt backbone and hop definition that define the American version. You want a workhorse strain that ferments reliably, drops clear, and lets your carefully layered chocolate and roasted malts take center stage.
US-05 (dry) and WLP001/Wyeast 1056 (liquid) are the gold standards for this style, along with their various lab equivalents. These strains share a common lineage and deliver the clean, slightly fruity profile that complements dark malt without competing with it:
- US-05: 73-77% attenuation, extremely clean with subtle fruitiness, forgiving temperature range
- WLP001 California Ale: 73-80% attenuation, neutral character, slightly more ester production than US-05
- Wyeast 1056 American Ale: 73-77% attenuation, clean finish with mild fruity notes at warmer temps
- Imperial Yeast A07 Flagship: 75-80% attenuation, very neutral, excellent for malt-forward styles
Target fermentation temperatures between 64-68°F (18-20°C) for optimal results. Canadian basement brewers often have a natural advantage here since many cellars sit in this range year-round. If you’re fermenting in a garage or uninsulated space, insulate your fermenter with a sleeping bag or foam wrap during winter cold snaps, and consider a swamp cooler setup (fermenter in a tub of water with wet towels) during summer heat. Consistent temperature matters more than hitting an exact number. Wild swings create fusel alcohols and stressed yeast, producing hot, solvent-like flavors that clash with roasted malt. A properly prepared yeast starter helps maintain stable fermentation even when ambient conditions shift, while good temperature management techniques prevent the off-flavors that ruin an otherwise solid porter. If you’re troubleshooting unexpected flavors in your dark beers, check your off-flavor identification resources to pinpoint whether yeast health or fermentation temperature caused the issue.
5. Mind Your Water Chemistry for Balanced Roast Character
Water chemistry might sound intimidating, but understanding a few basics will dramatically improve your American porter. The goal is to support the roast character without letting it turn harsh or astringent, and that starts with getting your mineral balance right.
For American porter, aim for a moderate sulfate-to-chloride ratio, ideally around 1:1 to 1.5:1. This differs from IPA brewing techniques where you’d push sulfate much higher for hop sharpness. Here, balanced minerals let the chocolate and coffee notes shine without creating that dry, scratchy finish. Keep sulfate between 50-150 ppm and chloride between 50-100 ppm as a solid starting point. The slightly higher sulfate provides just enough crispness to keep the beer from feeling flabby, while adequate chloride adds a touch of perceived sweetness and smoothness.
Alkalinity deserves special attention when brewing dark beers. While roasted malts are acidic and can handle some buffering capacity, excessive alkalinity will extract harsh, acrid flavors from those same specialty grains. Most Canadian water sources work fine with minimal adjustment. Vancouver’s soft water is nearly ideal and may need only small mineral additions. Calgary and Edmonton’s harder prairie water typically requires dilution with distilled or reverse-osmosis water to bring alkalinity down, or you can acidify your mash with lactic acid or acidulated malt.
Don’t overthink this if you’re new to water chemistry in homebrewing. Start by getting a water report from your municipality and focus on residual alkalinity first. If your water is very soft, add a bit of calcium chloride and gypsum. If it’s very hard, cut it 50-50 with distilled water. You can refine from there as you gain experience with mashing techniques and taste your results.
6. Master Your Mash Temperature for Body and Drinkability
Mash temperature control separates drinkable American porters from heavy, cloying ones. Target 150-154°F (65-68°C) for the sweet spot that creates medium body, substantial enough to support roasted malt complexity but light enough to finish a second pint without fatigue. This range activates beta-amylase enzymes that break down starches into fermentable sugars, giving you that characteristic American porter finish that doesn’t linger heavily on the palate.
English porters typically mash higher, around 156-158°F, producing more unfermentable dextrins and fuller body. That works for their maltier profile, but American porter demands restraint. A lower mash temperature yields a drier finish that lets your hop choices shine through and keeps the beer sessionable.
Canadian brewers face temperature stability challenges, especially in unheated garages or basements during shoulder seasons. Wrap your mash tun in sleeping bags or moving blankets, cheap insulation that holds temps steady for the full 60-minute rest. Preheat your tun with boiling water, then dump it before adding your grain. Check temperature at 15-minute intervals rather than constantly lifting the lid and losing heat.
If you’re troubleshooting your setup or trying to ask the right questions about mash efficiency, consider that even a three-degree drift can shift your body profile noticeably. Once you’ve nailed this technique, pair your finished porter with proper glassware for porter to fully appreciate the balance you’ve created.
7. Condition Adequately but Don’t Overdo It
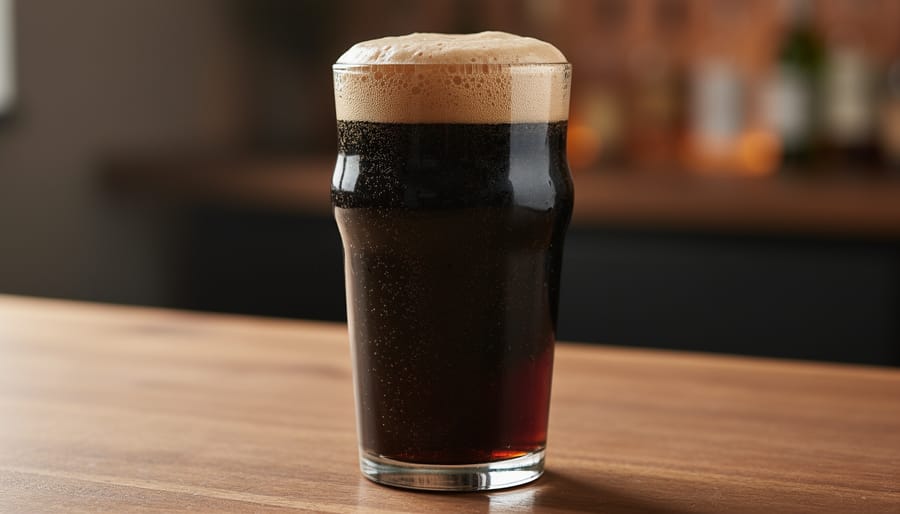
American porter rewards patience without demanding the months-long aging that barleywines or imperial stouts need. After 2-3 weeks of primary fermentation at your target temperature, the beer is typically ready to package. Don’t rush this stage, though, giving the yeast time to clean up fermentation byproducts prevents diacetyl and acetaldehyde from lingering in your finished porter.
Once bottled or kegged, another 2-3 weeks of conditioning allows carbonation to integrate fully and flavors to marry. Unlike some dark beers that improve dramatically with cellar time, American porter hits its sweet spot relatively quickly. The clean fermentation profile and moderate roast character shine brightest when fresh, typically within three months of brewing. Extended aging won’t ruin the beer, but you won’t gain the complexity that makes vintage beers special.
Canadian basement and garage conditions actually work beautifully for conditioning porter. Consistent cool temperatures (12-16°C) during secondary create ideal environments for carbonation without encouraging off-flavors. If you’re new to brewing dark ales, you’ll avoid common mistakes by resisting the urge to cellar American porter like you might an English barleywine.
Target 2.3-2.6 volumes of CO2 for proper carbonation, enough to lift the roast character without creating excessive foam. Under-carbonated porter tastes heavy and flat; over-carbonated versions lose their smooth mouthfeel and emphasize astringency from the dark malts.
Common Questions About Brewing American Porter
What’s the difference between American Porter and Robust Porter?
American porter emphasizes American hops and a cleaner fermentation profile, while Robust porter (often considered an English substyle) leans into deeper roast character and sometimes uses English yeast strains that add fruity esters. American versions typically showcase more pronounced hop bitterness and aroma.
Can I substitute British chocolate malt for American chocolate malt?
You can, but be aware that British chocolate malt tends to be less intensely roasted and more raisin-like, while American versions deliver sharper chocolate notes. If you’re sourcing ingredients in Canada and only British malts are available, you might need to adjust your percentages slightly to compensate for the flavor difference.
How do I scale a 20-liter recipe up to a full 40-liter batch?
Simply double all ingredient amounts except yeast, where you can use 1.5 to 1.75 times the original pitch. Your mash and boil times remain the same, though you’ll need larger equipment and should account for slightly different efficiency with a bigger grain bill.
Why does my porter taste astringent or overly harsh?
Astringency usually comes from over-sparging dark grains, sparging with water that’s too hot (above 170°F/77°C), or using water with excessive alkalinity. Try adding your darkest malts only during the last 15 minutes of the mash, or steep them separately to avoid extracting harsh tannins.
Where does American porter fit in the craft beer scene?
It sits between brown ales and stouts in terms of intensity, offering approachable dark beer character without the heaviness of imperial styles. In Canada’s craft landscape, it’s gained popularity as a year-round option that pairs well with comfort food and showcases local malt and hop character.
Beyond these common queries, many Canadian homebrewers wonder about recipe formulation strategies specific to porter styles. If you’re working with limited specialty malt options at your local shop, focus first on getting quality chocolate malt and a small amount of black patent or roasted barley. You can build a solid American porter with just those two specialty grains plus your base malt.
For those troubleshooting flat or thin-bodied results, revisit your mash temperature and ensure you’re hitting that 152°F sweet spot. Canadian brewing conditions, especially in colder basements, can sometimes lead to temperature drops during the mash that produce overly fermentable wort. Insulating your mash tun makes a real difference.
If you’re new to brewing darker styles, American porter offers an excellent entry point because it’s forgiving during fermentation yet still rewards attention to detail. The style’s balance means small mistakes rarely ruin the batch, unlike more extreme styles where off-flavors stand out. Starting here builds confidence before tackling more intense stouts or complex barrel-aged projects.
American porter rewards your effort with a beer that’s both approachable and genuinely interesting to brew. Master your North American base malt foundation and you’ll create that clean backdrop the style demands. Layer your dark malts thoughtfully and you’ll get complexity without astringency. Choose American hops with restraint and your malt character stays front and center where it belongs.
Ferment cool with a clean yeast strain and you’ll avoid the fruity esters that muddy this style’s roasted clarity. Adjust your water chemistry and manage your mash temperature carefully, and you’ll land that balanced, medium-bodied profile that makes American porter so drinkable. Condition properly and serve it fresh, this isn’t a beer that needs months of patience.
These seven techniques give you a reliable framework, but don’t treat them as rigid rules. Experiment with different chocolate malt brands, try various American hop combinations, and adjust your approach based on what works in your brewing space. Share your batches with fellow brewers, compare notes on yeast management techniques, and keep refining your process. The Canadian homebrewing community has fully embraced American porter as a gateway to dark beer brewing, and for good reason. It’s forgiving enough for newer brewers yet deep enough to keep experienced hands engaged batch after batch. For more guidance on crafting balanced dark beers, check out our comparison of stout and porter brewing approaches.