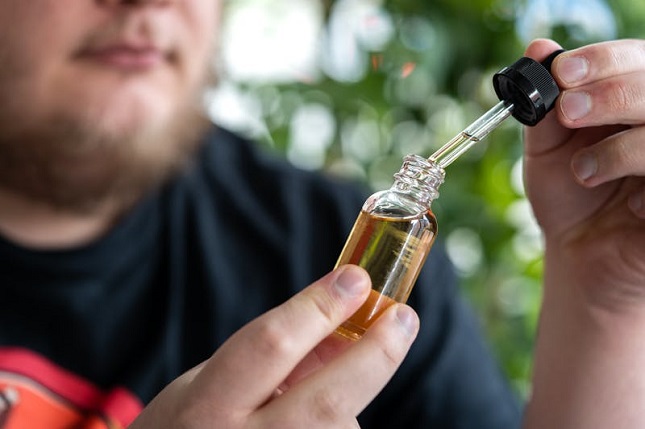
How do you like to relax? Maybe you watch Netflix to unwind. Meanwhile, some people have discovered the wonders of the best CBD oils available in Canada and use it to help them relax.
On the other hand, some folks like to drink a beer or two. If you’re one of them, why not take it a step further by brewing your own beer? In fact, it’s not as complicated as you might think; all you have to do is follow this guide!
Cleaning and Sanitizing
Before anything else, you will need to clean and sanitize the equipment. For this, you can use an unscented mild detergent and a no-rinse sanitation solution. In fact, cleaning and sanitizing is a must for anything that comes in contact with the beer.
Choosing the Brewing Method
In general, when you brew, timing is key. Of course, the practice also makes perfect, so don’t be discouraged if you don’t get it right the first few times. In this case, here are the three most common methods:
- Extract Brewing
- Partial Mash
- All-Grain Brewing
For this, the order, from top to bottom, goes from easiest to the most complex.
Mashing
Once you know what method to use, you can soak the grain bill in hot water to activate grain enzymes and turn starch into sugar to provide “food” for the yeast.
This will create the body, flavor, and color base of the beer. However, you should be mindful of the temperature, stirring, and water quality.
Lautering
This step calls for the separation of the wort to get rid of sugars trapped inside to feed the yeast and convert it into alcohol.
Of course, it depends on the method, but “sparging” is common. In this case, it requires heating water to a higher temperature than the mash and pouring it over the grain. There are two types of the sparging method:
- Fly Sparging
- Batch Sparging
This video will compare these 2 methods:
Boiling
After this, you can proceed to boil. Boiling destroys unwanted enzymes, lowers pH, and removes harmful oxygen to make the environment for hop addition. In this case, the hops ward off bacteria and add bitterness, aroma, and flavor to the beer.
Cooling
Once you have boiled your wort, you then have to cool down the wort right away to avoid infection. For this, you can use an ice bath or wort chiller to get it to room temperature before twenty minutes.
Transferring to the Primary Fermenter
Then, you can transfer the wort to a storage vessel that can hold it and sterile water if necessary. It would be best to take a gravity reading with a hydrometer once the volume is enough to ensure that the fermentation was a success. Doing so will also let you calculate the alcohol content.
Activating and Pitching the Yeast
Next, you should let the yeast sit at room temperature for three hours. Then, you can pitch it into the fermentation vessel and aerate it by stirring or shaking. Make sure to secure the container with an airtight lid and insert an airlock.
Fermenting
Once you’re done, your beer will start the fermentation process. In this case, fermentation is when the yeast turns the sugars into carbon dioxide and ethyl alcohol. It will also sink unwanted particles that you can take out.
In general, the temperature should be approximately 68 to 72°F. Overall, you should let it ferment for two to three weeks before taking a final gravity reading to determine the alcohol content.
Bottling
Most brewing kits have bottling equipment, so you can simply follow the instructions. Then, after bottling, you can store them in a cool and dark place for two weeks. Once this is over, you can let it chill in the fridge. Afterward, feel free to serve it!
Conclusion
Overall, there are many ways to brew beer. In fact, some people like to add secondary fermentation or keg the beer instead. In this case, this guide is only a rough one, but hopefully, this has given you a good idea of what the process involves.


